Archive | Kit Clubs RSS feed for this section

DIY Anniversary Gift

9 Feb

It is our Wedding Anniversary today…a bit overshadowed by the arrival of Miss Lizzy tomorrow but, we made sure that we took some time to exchange gifts.

I made him a coupon book inspired by Tater Tots and Jello’s Valentines to her family and a fold out gift card holder I saw while browsing through some blogs (for the life of me I cannot find the blog, so if it is yours, please e-mail me and I will link it up).

DSC_0003

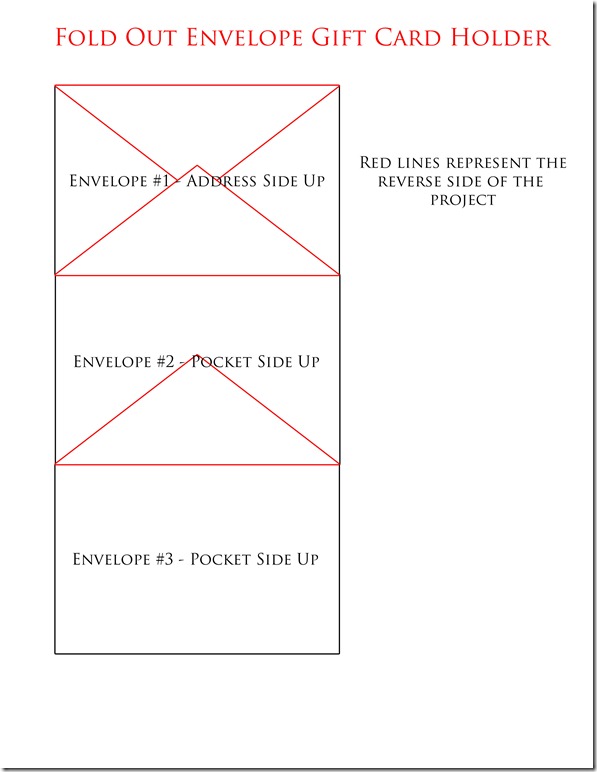
To make the gift card holder, take as many envelopes that you would like to use. The first envelope will not be a pocket but each additional one will be.

Starting with the first envelope, glue the flap of the second envelope to the back of the first envelope. It will create a nice front for your project and when folded out the pockets will all be facing up.

Follow with the 3rd envelope (pocket side up) and glue the flap to the back of the 2nd envelope. Continue with each additional envelope.

I tried to make a diagram to explain how to put the envelopes together. The red lines represent the back of the project.

Fold Out Envelope

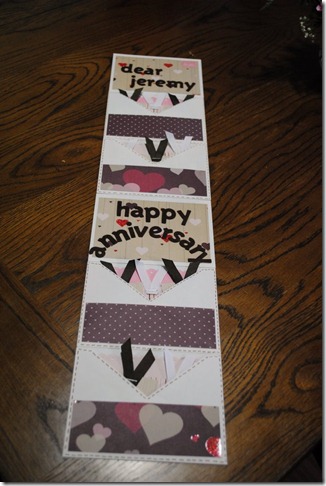
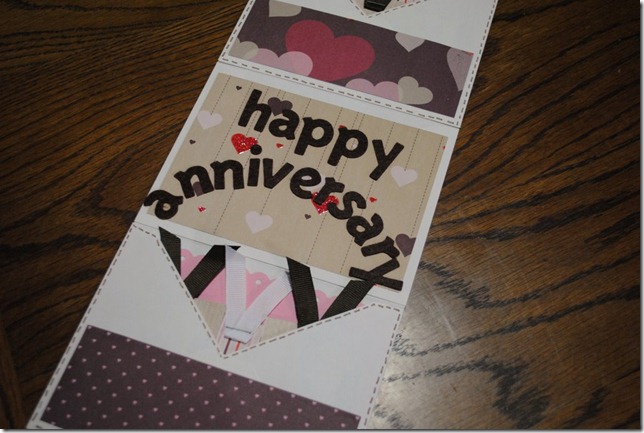
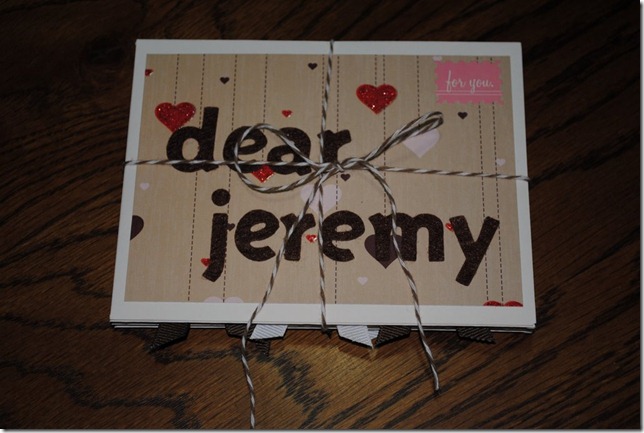
Here is the finished project! I cut some paper the size of the envelope and others smaller so the pockets can be used.

DSC_0005

I lined each pocket with cardstock and used my paper punches to make the edges cute.

DSC_0006 

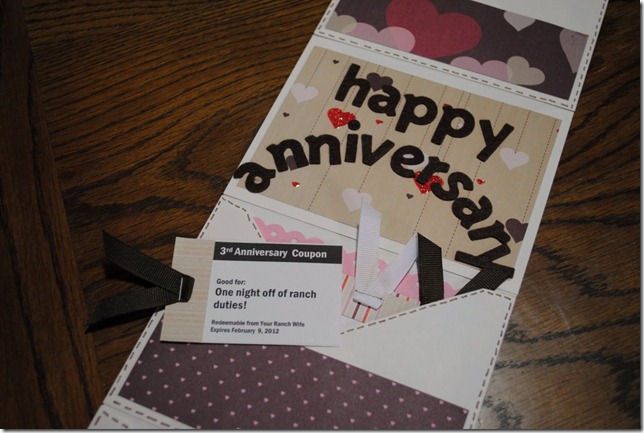
The coupons were printed from Tater Tots and Jello site. I was able to change the wording from Valentines to Anniversary and change the wording for the coupons. I cut color coordinating paper to edge the coupons and then added a bit of ribbon secured by a staple.

DSC_0007

I hope you enjoyed this little project! I had fun making it for my amazing hubby.

I will be away from my blog for a bit…Miss Lizzy is going to make her arrival between tomorrow and Friday! I am so excited to have another little one to take photos of!

Products Used: January Club SEI paper and embellishments, AC Thickers Felt Letters, The Twinery Twine in Cappuccino, CTMH Grosgrain Ribbon in Cocoa and White, and envelopes I had in my stash.
Valentines Banner

7 Feb

WAITING…WAITING…WAITING…For Miss Lizzy to arrive! I am keeping myself busy with a home and a craft project a day. Today my Mom and I hung picture frames in various rooms in my home. It has been 2 years since we moved here and I just got around to doing it! Now, I need to update the photos! That will be tomorrows “home” project.

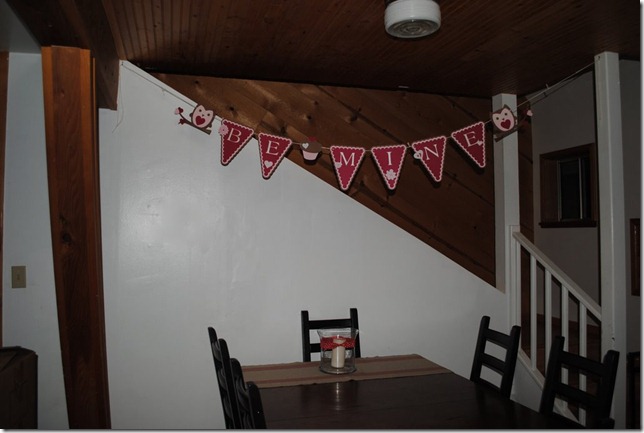
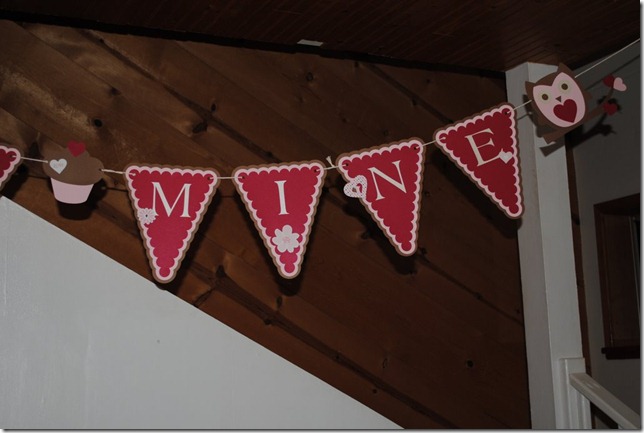
I wanted to make a Valentines Day Banner for Emily’s school party. It is the least I can do since I don’t know how much baking I will be able to get done.

I had leftover Valentines Day paper from Michael’s and some fun Club SEI embellishments, so I broke out my Silhouette and put it to work.

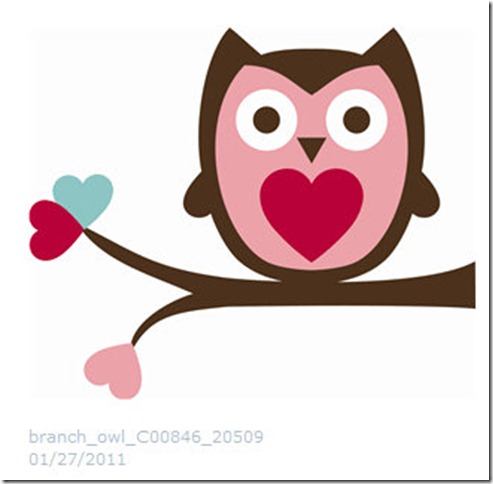
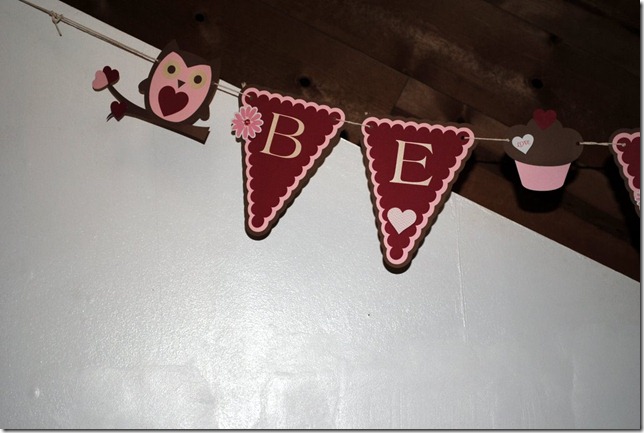
I am loving all the adorable owls that are out and about in the paper crafting world so I had to include a couple in my banner. This is the download from Silhouette America:

Fullscreen capture 1272011 92904 PM

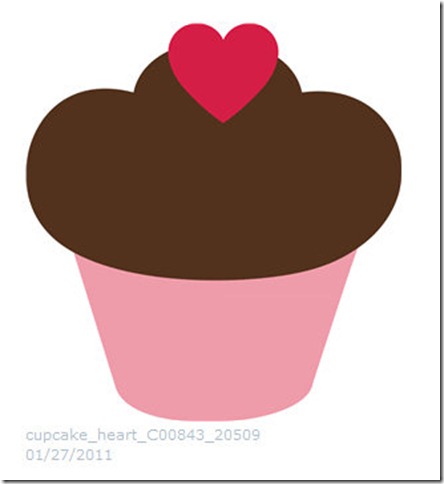
I also used this adorable cupcake to separate the “Be” and “Mine":

Fullscreen capture 272011 84346 PM

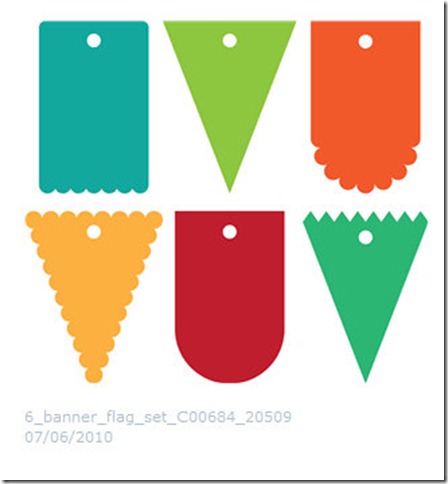
I love the look of layers on banners so I chose three colors to use for the pennants: Brown, Light Pink and Hot Pink. I used the following download from Silhouette for my pennants.

Fullscreen capture 272011 84814 PM

To get the three sizes to make the three layers, I used the “Offset” feature in the Silhouette Studio software. It makes it so easy!

After I assembled and embellished my owls, cupcake and pennants, I punched holes in the corners and strung them together with some twine.

DSC_0003

DSC_0006

DSC_0007

I can’t wait to send this off to Emily’s school along with her Valentine’s Treat Bags I made last week!

Finished It Friday

7 Jan

I wanted to start a regular post on my blog regarding projects I have worked on during the week. I find that I get a lot done but have run out of time to share them with my readers. Then the next week comes and I have a whole new weeks worth of goodies. I will do a “Finished It Friday” post up until Miss Lizzy makes her debut and then I might take a little time off. Just a little…I promise.

Here is what I have been working on this week…

December Daily Album is done! I finished it on the 2nd of January and was very happy with how it turned out. I am looking forward to doing it all over again next year.

I was  able to go to Green Tangerines this week and get some layouts done. I have been enjoying packing up my scrapbooking tools and having a nice quiet place FILLED with amazing product. It is nice being able to look at my photos and then go shopping to find “THE PERFECT PAPER”.”

DSC_0274

This week I will be working on Emily’s Valentines Day goodies. I love making handmade ones and have done pencil holders, candy holders and just cards with candy in the past. This year I am looking for something fun! I plan on using my kit from Club SEI this time around since I don’t do many layouts that are Valentines themed.

Club SEI January Mini Kit Contents

This will be my last shipment from Club SEI as I have found that papers don’t go with my scrapbooking style. I love the idea of the mini and mega kit every other month and that it isn’t just scrapbooking and card-making related, they include actual projects to make.

So, with my monthly scrapbooking kit budget I signed up with Green Tangerine’s Kit Club. I am so excited to see how it works out for me. I love their store and their design team so I am sure I will enjoy using the kit. I feel like if you aren’t using at least 80% of the product in your kit, it is a waste. I can already tell I will be using almost ALL of these goodies.

So what have you finished this week?

Link up to a photo of your project, either from your blog or a photo sharing account. I would love to see what you have worked on this first week of 2011.

WeScrap’s February Kit DT Reveal

5 Feb

WeScrap has just released their new Kit of the Month called “Pretty on the Inside”

This kit is so perfect for spring! My favorite part of this kit is the Bazzill In Stitch’z Template! It is a group of paper piercing templates for you to use for hand stitching on your pages.

It is a super easy way to add flourishes to your pages.


Here is what I created with my kit:


For more details or to purchase this kit,

WeScrap’s January Kit DT Reveal

10 Jan

Be sure to check out WeScrap’s DT’s reveal of the January kit! This kit was so much fun to play with and I still have quite a bit leftover! I will post my new layouts over the next week.

No Peaking: January WeScrap Kit, Fiskers Punch, CTMH Ink, Ranger Blending Tool

Love and Laughter: January WeScrap Kit, Silhouette SD

Beautiful: January WeScrap Kit, CTMH Pearls, Fiskers Punch, CTMH Ink, I-Top Punch

Love has Wings: January WeScrap Kit, Silhouette SD, CTMH Ink

WeScrap January Kit Debut!!!!

5 Jan


Check the newest kit: Wind Beneath My Wings
ONLY $27.99
This stunning new kit is full of all sorts of vintage deliciousness!
For more information or to purchase this kit CLICK HERE!

Quick Overview:
Patterned Paper: {1} 7 Gypsies Walker, {1} 7 Gypsies Fernwood, {1} 7 Gypsies Jubilee, {1} 7 Gypsies Pandora, {1} 7 Gypsies Printemps, {1} 7 Gypsies Rosewood, {1} Webster’s Pages Violette Wings, {1} Webster’s Pages Postcards from Paris Vellum 12×12 Sheet
Cardstock: {2} Bazzill Cherry Vanilla, {1} Bazzill Cream Puff, {1} Bazzill Admiral, {1} Bazzill Pear
Alphas: {1} Kaisercraft Duchess Alpha Stickers
Embellishments: {1} Maya Road Butterfly Acrylic Accordion Book, {6 pieces} Webster’s Trim, Postcards From Paris, {1} Jenni Bowlin
Butterfly Rub-On {3} Prima Gallery Roses: Quillen, {4} Prima Say It In Pearls Embellies, {5} Maya Road Chipboard Wings/Hearts (Varied), {1} Paper Doily


Be sure to check back on the 10th for WeScrap’s DT Reveal of this kit! It is sure to be inspiring!