Under Construction – A New Blog Design

25 Mar

I was so excited the other day to receive an e-mail from Sandra, owner of Purely Sensible Design, saying that I had won her contest for a new blog design!!!

I have been wanted to take my blog to the next level and she is the woman that can do it for me. So, over the next week or so I will be e-mailing her back and forth about my “Dream” blog. I cannot wait to share the final product with you all. So bear with me for a couple weeks and I will thank you for your patience with a fantastic giveaway…a selection of my favorite things.

Please be sure to check out her site and if you are in need of a new blog design shoot her an e-mail and see what she can do for you!

Win a Year Worth of Scrapbook Kits!

23 Mar

WeScrap is giving away an entire year worth of scrapbook kits! YES….that is right…an entire year!

All you have to do is go to their new blog and become a follower.

Check it out:

Glass Etching Using Vinyl

21 Mar

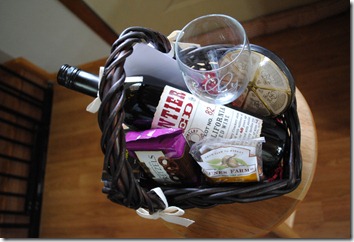
I love making baskets for friends for their birthday…especially when I stock it with goodies from World Market!

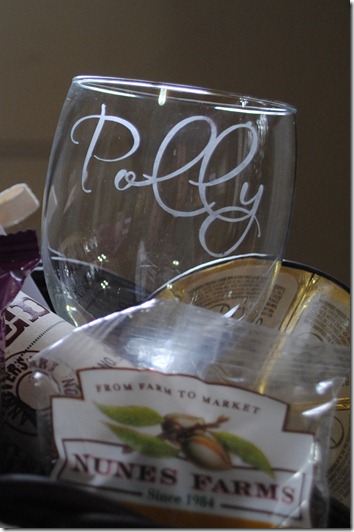
I wanted to make my friend’s wine glass personalized so I turned to my Silhouette.

I had some etching cream in my craft stash and I picked up a wine glass while shopping.

I designed her name in Silhouette Studio and then cut it out using vinyl from Expressions Vinyl. I then cut out a square around the name (before removing the letters) and then using transfer tape, I transferred the entire block to the glass. Then I used my pick to take the letters out.

I made sure the the vinyl was stuck on with no bubbles around the edges of the letters to prevent bleed-over. Then I used a paint brush to brush an even layer of etching cream to the stencil, waited the allotted time and then washed the glass off and removed the stencil.

It turned out super cute!

DSC_0728 DSC_0731

Where I am linked up at:

St. Patrick’s Day Cupcakes

16 Mar

I love crafting and baking for every holiday! It is an excuse to get my studio and kitchen dirty! This year I was browsing the net for ideas and came across this awesome site. It has lots of fun ideas…you will get lost browsing around.

Emily’s school does a little party for St. Patrick’s Day so I decided to make some fun cupcakes for her to bring in.

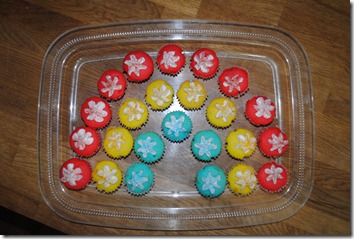
Mini rainbow cupcakes were the plan and they turned out super cute.

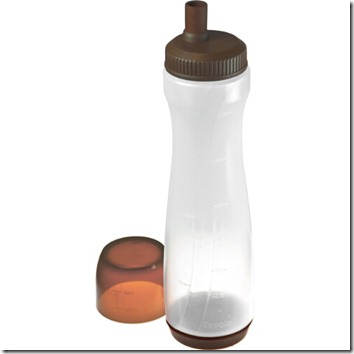
If you bake mini cupcakes you have to have this wonderful invention…it is called a “Batter Squeezer” and you can purchase it at my favorite store Sur La Table.

80-5286 

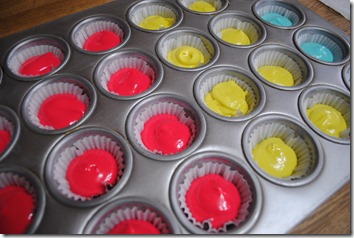
After mixing the white cake mix I separated it into three different bowls. Then I added some food coloring until I got these fantastic colors!

DSC_0737

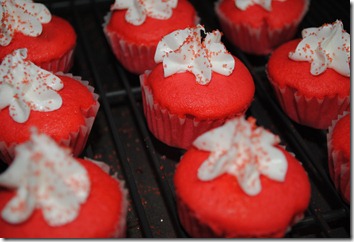
They baked up so perfect and totally cute! I added a little bit of white frosting and sprinkled them with coordinating sugar sprinkles.

DSC_0743

Here is my little rainbow of cupcakes…do you think there is gold at the end of it?

DSC_0747

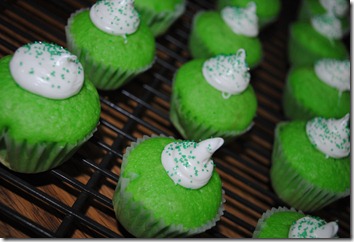
I had some batter left over so I made some traditional green ones too!

DSC_0753

I am excited to have a little leprechaun visit our home tomorrow morning. He makes the milk green, the toilet green when they flush, mess up the house and sprinkle green confetti all over. Naughty little leprechaun!

Vinyl Decorating with my Silhouette

5 Mar

Look what goodies came in my mailbox yesterday?
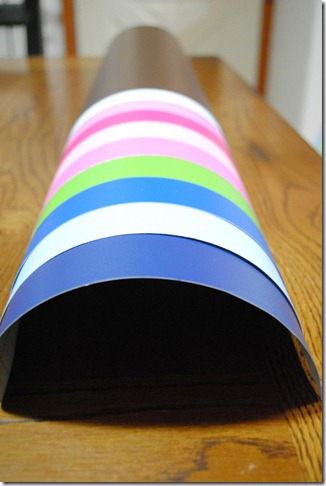
DSC_0686

Yep…that is a whole lot of vinyl for my Silhouette! I ordered through a great company called Expressions Vinyl. Their quality was fantastic and their service was outstanding.

The price for 9” x 24” vinyl was $1.59 each.

If you sign up for their Twitter or Facebook account, they offer coupons on a regular basis.

Shipping was a bit expensive but given the price of gas right now all shipping costs are high no matter what company you go through.

The color choices are great and the pictures on their site are pretty indicative of the color you will receive.

The names of the colors are as follows (from left to right):

Dark Blue, Powder Blue, Gentian Blue, Lime Tree Green, Soft Pink, Carnation Pink, Pink, Bubblegum, White and Brown.
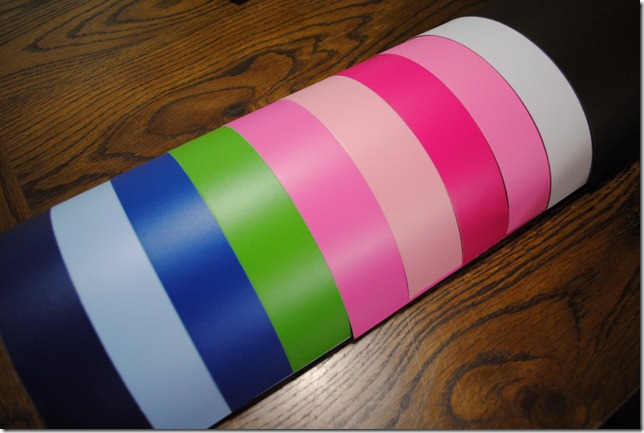
DSC_0687

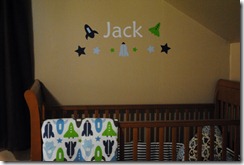
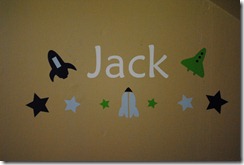
I wanted to match the exact shapes on my son and daughter’s bedding. It is the Dwell Studio for Target “Tulip” and “Space” line. I also bought the Dwell Studio “Little Dots” bumper for each of them. I thought it would make the two cribs have a matching element since they share a room.
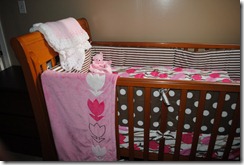
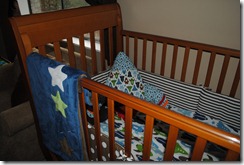
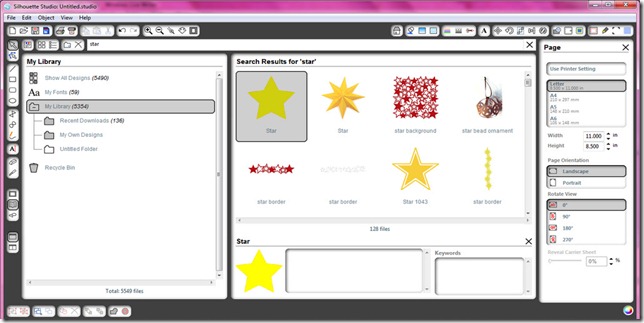
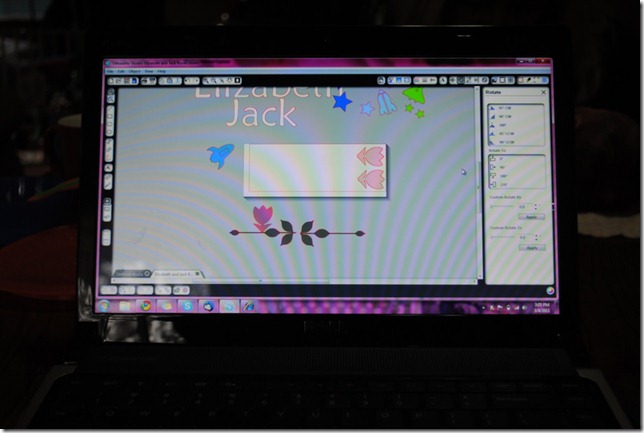
DSC_0425-1 DSC_0426 I started up the Silhouette Design Studio and went to work! I imported in images of each of the space ships and the tulips. I then used the FABULOUS trace feature to outline each element. After some adjusting I was got the exact custom shapes I was looking for.

I also downloaded a star design and a  border to add a few fun elements to their names.

Fullscreen capture 352011 85303 AM

Fullscreen capture 352011 85844 AM 

I made some adjustments to the designs…multiple sizes of stars and took out the interior leaves to the border. I have them colored on my screen so I could play around with what it would look like as a finished product and to help me determine what image would be printed on what vinyl.
DSC_0659

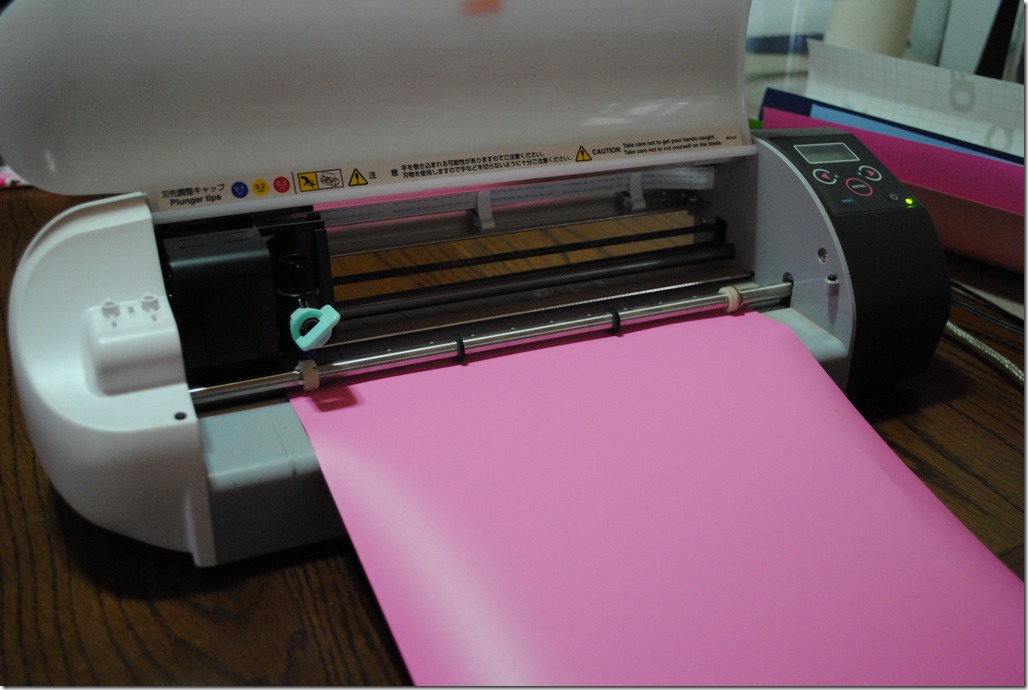
I loaded up my vinyl in my Silhouette SD and got to cutting.

HINT: You do not need to use a a mat when cutting vinyl you will just load it into your machine using the “Load Media” option. Also, use the blue cutting cap and the automatic settings within Silhouette Studio to cut.
DSC_0661

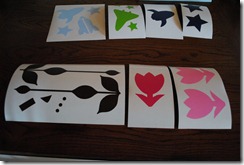
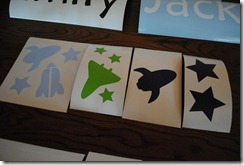
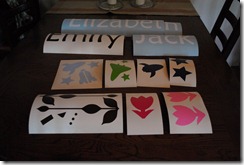
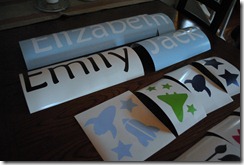
Here is the finished vinyl artwork with the excess vinyl taken off of it so you can see the shapes.
DSC_0663 DSC_0664 DSC_0665 DSC_0666

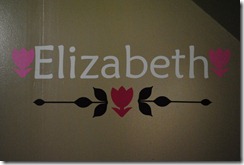
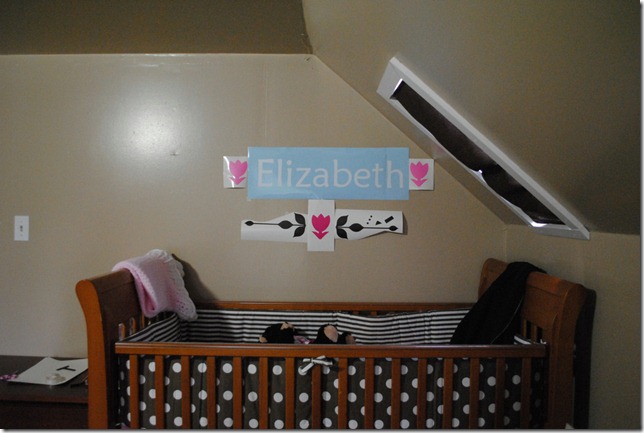
I started out my taping the vinyl cutouts with the backing on them to the wall to make sure I had the look right. After I decided I liked the look, I drew lines with pencil on the wall to make sure everything was straight. Using the Vinyl Transfer Tape, I would pick up the vinyl letters, line it up on the lines and then peel off the transfer tape leaving only the vinyl wall art on the wall.
DSC_0669

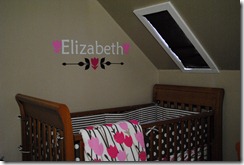
The kid’s rooms turned out so cute! I love that it gives it a finished look.
DSC_0671 DSC_0682 DSC_0680DSC_0681  

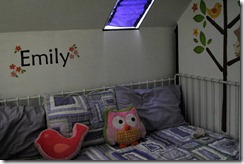
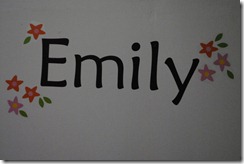
For my oldest daughter’s room, I had purchased some wall art from Target called Circo “Love and Nature” Wall Art. You can find it through Amazon now though. I saved part of it to use around her name once I got my vinyl in.
DSC_0678DSC_0684  

Overall, this project took me a few hours and that is with juggling three kids (one being a newborn). I had an extra set of hands and eyes (my Wonderful Mom) to help hold and adjust as needed. It was so much fun!

Hive Creative Challenge -Birthday Party Decor

2 Mar

Even though it looks like winter more than Spring out today, my Daughter’s birthday marks “almost” Spring countdown. She turned 8!!

DSC_0577

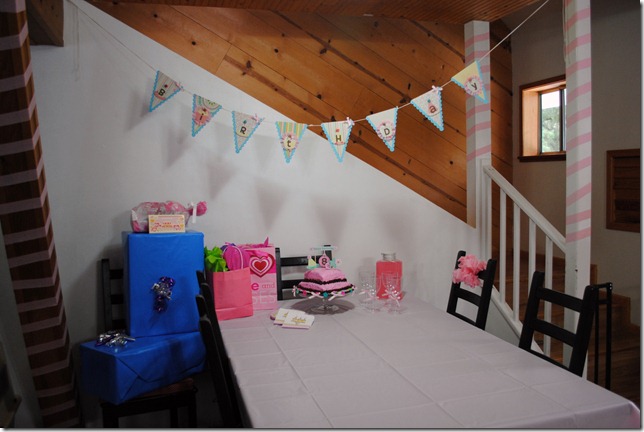
I wanted to make it special for her since we will not be doing our usual BIG birthday bash with lots of friends. I had purchased an adorable birthday plate and napkin set at Target, along with a pink tablecloth, plastic wine glasses and crepe paper to decorate. However, I needed to add a Creative Cowgirl touch to it all.

I went to Green Tangerines and stocked up on cardstock, ribbon and flowers that matched the color scheme. I already had an adorable paper and embellishment line from SEI called “Happy Day” that went with the theme perfectly…cupcakes and party hats!

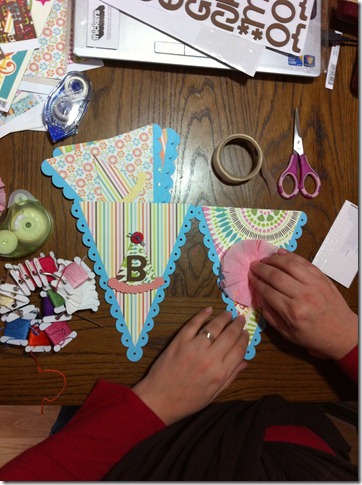
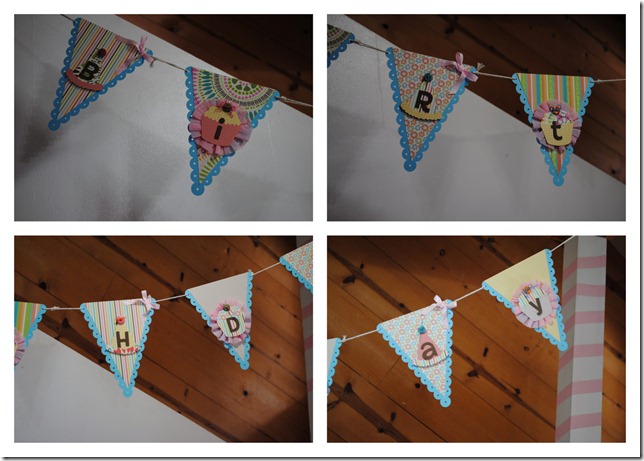
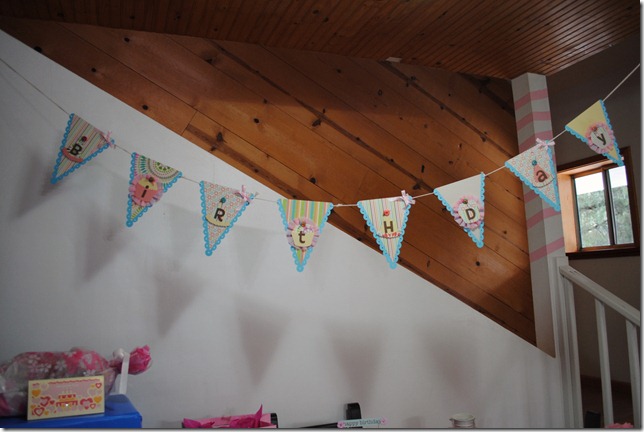
I used my Silhouette SD to cut the pennant banner out. I used the scalloped edge and the triangle banner for the background. I then cut out four cupcakes and four party hats and used Thickers for the word “Birthday.” I embellished them with American Crafts pink grosgrain ribbon, embroidery floss, and Basic Grey buttons.


IMG_2304

I used Crepe Paper steamers to make an accordion lolli embellishment to put behind each cupcake die cut.

Bday 

Here is the finished banner:

DSC_0561

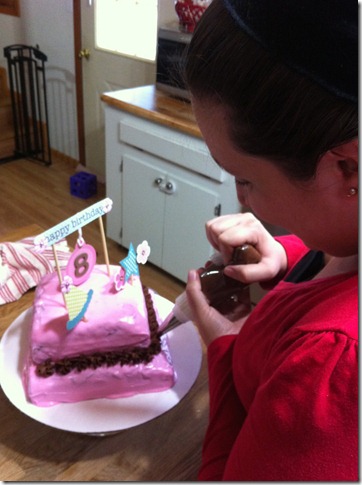
I went on to make her birthday cake. Sine we are country folk, our closest bakery is about an hour and a half away. We usually just make our own. She wanted chocolate! My Mom made the cake and went on to try her hands at making Marshmallow Frosting. It tasted great, but it was impossible to ice with. I think she did a great job given the circumstances. We both decided we needed to take a cake decorating class.

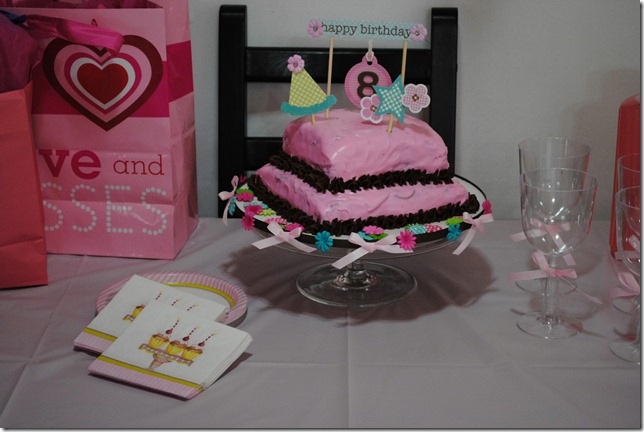
After she iced the cake, I went back in and did a bit of decorating with chocolate frosting. I also added a few cake toppers made from the SEI Happy Day paper line. I used the die cuts and glued them to skewers. I also added an “8” to a tag and hung it from the “Happy Birthday” banner.

IMG_2309

I couldn’t leave the cake platter plain so I added pink bows and some flowers I had in my stash. I also added pink bows to the plastic wine glasses.

DSC_0570

I made a little crepe paper flower for her chair. I cut equal strips of crepe paper of about 8”. I then layered them making an “X” pattern as I went. Then I stapled them all together in the middle. I then crumpled up each strip to make it look full. I think it turned out pretty cute.

DSC_0558

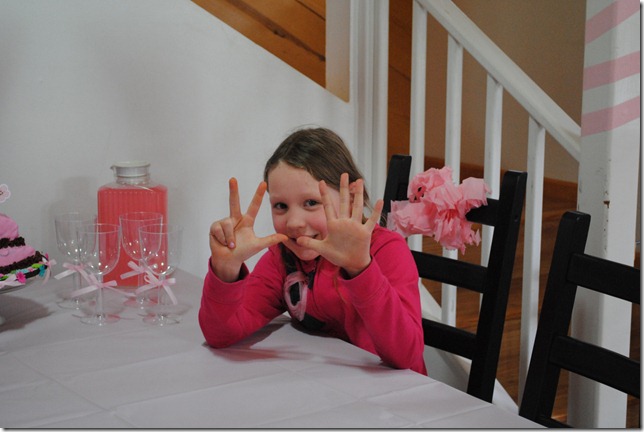
Emily saw her surprise when she came home from school. She loved all the pink, especially the special plastic wine glasses with pink lemonade! I had so much fun with my Mom decorating for Emily’s special day.

Tips for Newborn Photography Cowgirl Style

24 Feb

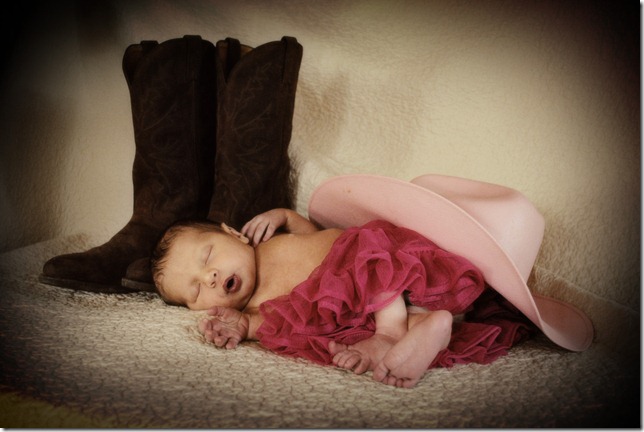
I wanted professional photos taken of my newest little cowgirl however, it wasn’t in the budget. So…my Mom and I decided to try our hand in a newborn photo shoot. I don’t own fancy backdrops, lights or props but I do have a nice camera, a creative imagination and Photoshop!

Here are some things I learned:

  1. Pick a time that your newborn is usually napping. We spent most of the time trying to get Lizzy to fall asleep and stay asleep.
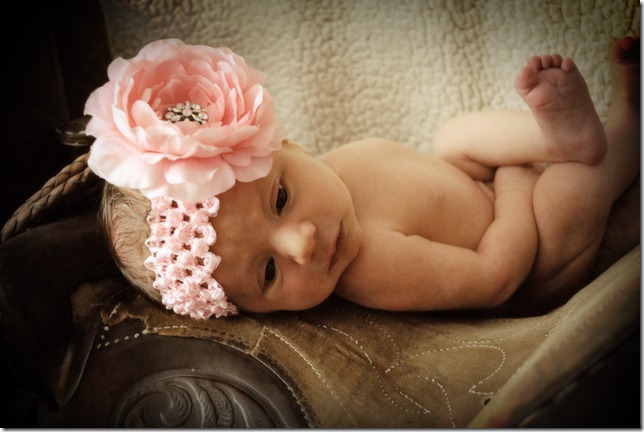
  2. Be sure your room is warm and what you are putting your little one on is warm. I used a heating pad to heat up the saddle before laying her on it.
  3. Be creative with backgrounds. I used blankets held up with giant binder clips. You can use a run over a chair, a piece of extra carpet,
  4. Use props that pertain to your lifestyle. I went down to the barn and got a children’s saddle, some reigns, my daughter’s cowgirl hat and my hubby’s boots. You can also use baskets, buckets, flower pots, etc. Keep with one theme so you aren’t too overwhelmed.
  5. Use natural light. Open the blinds, move the table or chair you will be photographing to the lighted area.
  6. Turn your camera on multiple shots, this allows you to take photos quickly with one push of the button. It is great to catch that one perfect moment.
  7. Turn off your flash. If you have sufficient natural light, you can turn off your flash and the other lights in the room. It will prevent a washed-out look and shadows.
  8. Take your time and have lots of patience. It took us about 3 hours to get the shots we wanted. My Mom would calm her down, I would be ready with the camera and then we would switch jobs. You have to have someone there to help you.
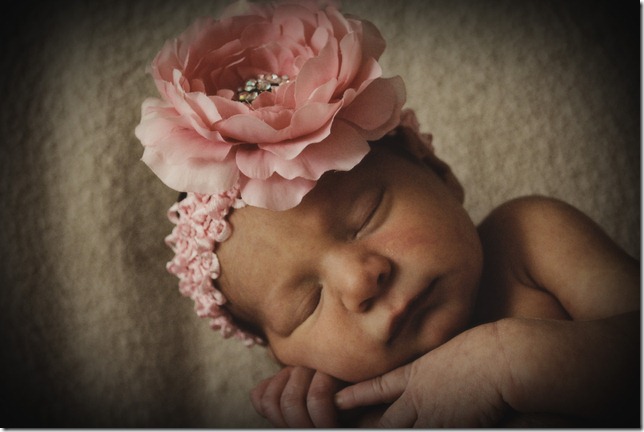
  9. Photoshop can change a ho-hum photo into a spectacular one. I was able to edit her little scratches out on her face, hide the white diaper that stuck out of the tu-tu, hide a spot on the blanket and change the color/lighting of the photo.
  10. Enjoy yourself…my Mom and I laughed a lot. Especially when we took the diaper off Lizzy and she pooped! It went all over the sweatshirt Mom was wearing.
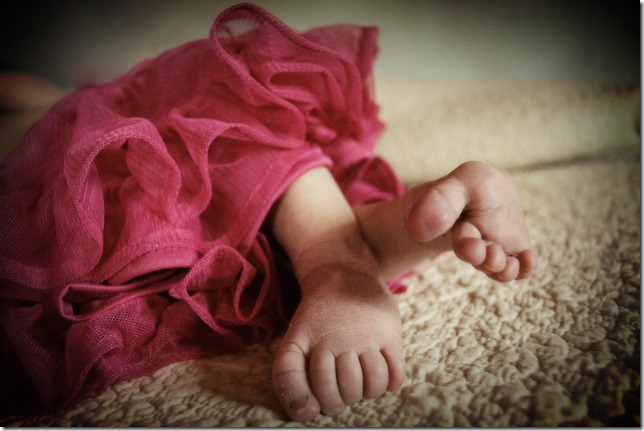
 

Here are my final shots:

Boots and Hat copy Feet copy Full Body copy Head Photo Saddle Down copy
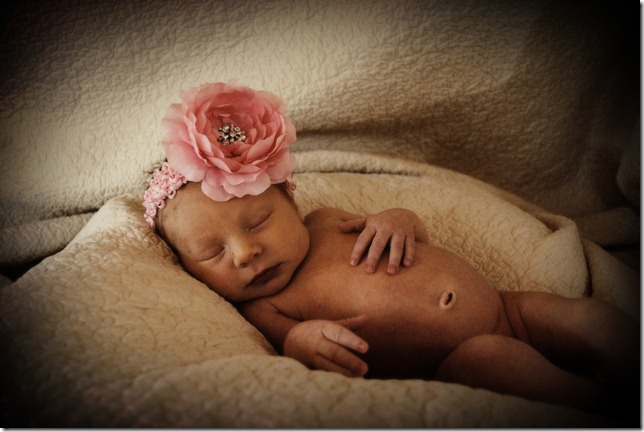
The flower is made by a friend of my Mom’s, be sure to visit her Etsy Shop! The tu-tu is Amy Coe from Babies-R-Us. I also used Pioneer Woman’s Photoshop Actions.

Well, I am out of time…the baby is calling!

Welcome to The Ranch Baby Elizabeth

10 Feb

image

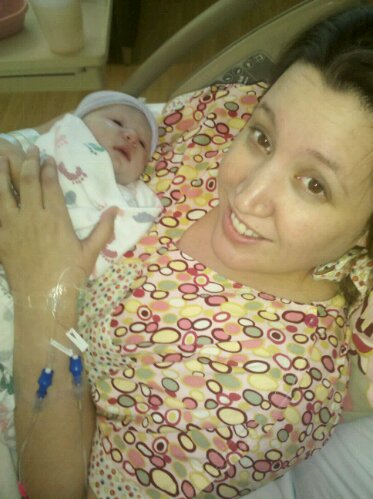
I would like to welcome the newest member of The Hord Ranch.

Elizabeth Ray Hord
Born 2-10-2011 at 2:30pm
7lbs 10oz and 20.5 inches long

DIY Anniversary Gift

9 Feb

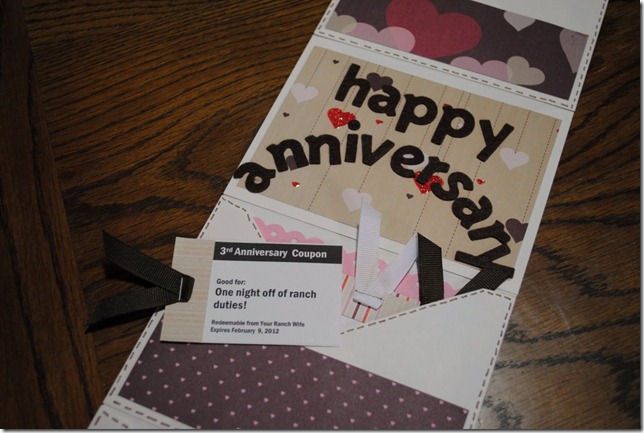
It is our Wedding Anniversary today…a bit overshadowed by the arrival of Miss Lizzy tomorrow but, we made sure that we took some time to exchange gifts.

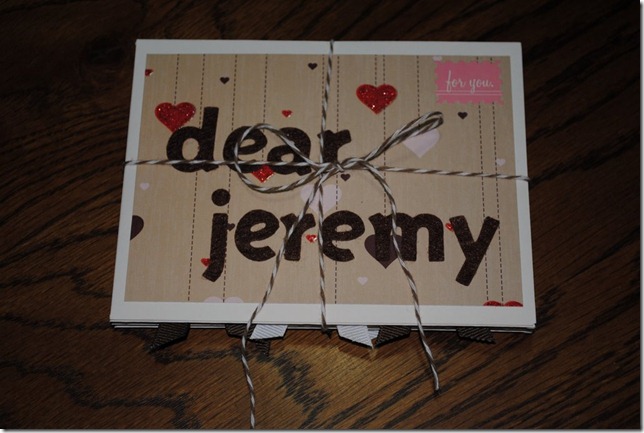
I made him a coupon book inspired by Tater Tots and Jello’s Valentines to her family and a fold out gift card holder I saw while browsing through some blogs (for the life of me I cannot find the blog, so if it is yours, please e-mail me and I will link it up).

DSC_0003

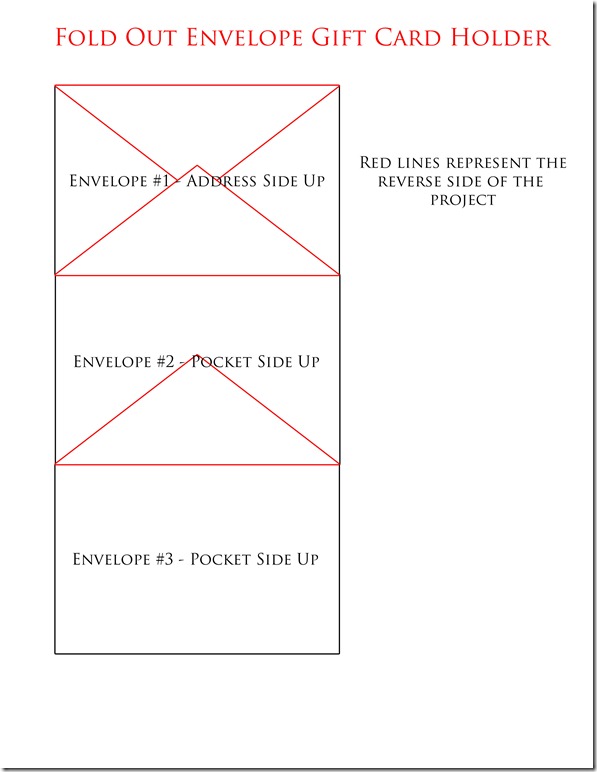
To make the gift card holder, take as many envelopes that you would like to use. The first envelope will not be a pocket but each additional one will be.

Starting with the first envelope, glue the flap of the second envelope to the back of the first envelope. It will create a nice front for your project and when folded out the pockets will all be facing up.

Follow with the 3rd envelope (pocket side up) and glue the flap to the back of the 2nd envelope. Continue with each additional envelope.

I tried to make a diagram to explain how to put the envelopes together. The red lines represent the back of the project.

Fold Out Envelope

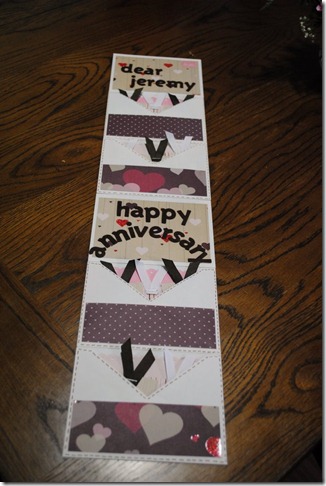
Here is the finished project! I cut some paper the size of the envelope and others smaller so the pockets can be used.

DSC_0005

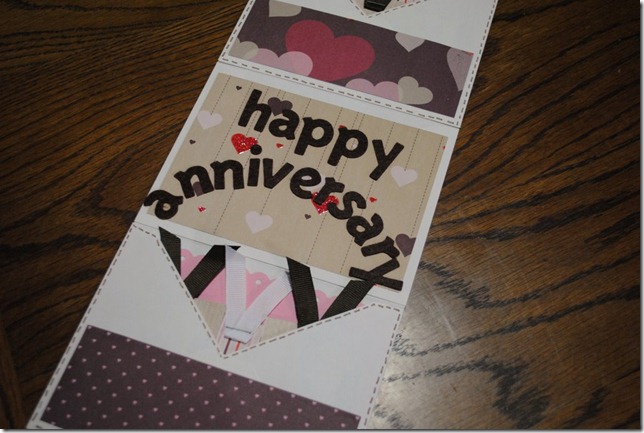
I lined each pocket with cardstock and used my paper punches to make the edges cute.

DSC_0006 

The coupons were printed from Tater Tots and Jello site. I was able to change the wording from Valentines to Anniversary and change the wording for the coupons. I cut color coordinating paper to edge the coupons and then added a bit of ribbon secured by a staple.

DSC_0007

I hope you enjoyed this little project! I had fun making it for my amazing hubby.

I will be away from my blog for a bit…Miss Lizzy is going to make her arrival between tomorrow and Friday! I am so excited to have another little one to take photos of!

Products Used: January Club SEI paper and embellishments, AC Thickers Felt Letters, The Twinery Twine in Cappuccino, CTMH Grosgrain Ribbon in Cocoa and White, and envelopes I had in my stash.

Valentines Banner

7 Feb

WAITING…WAITING…WAITING…For Miss Lizzy to arrive! I am keeping myself busy with a home and a craft project a day. Today my Mom and I hung picture frames in various rooms in my home. It has been 2 years since we moved here and I just got around to doing it! Now, I need to update the photos! That will be tomorrows “home” project.

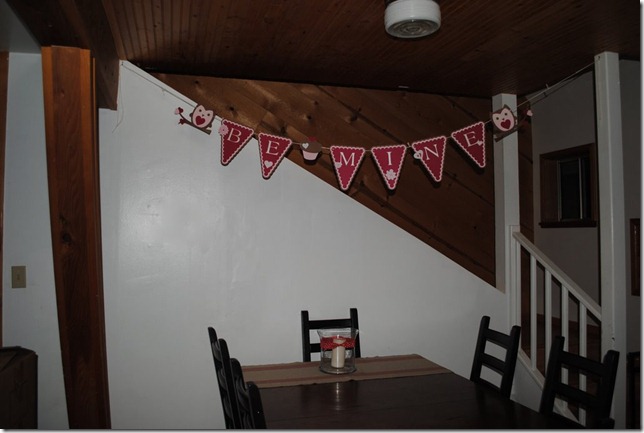
I wanted to make a Valentines Day Banner for Emily’s school party. It is the least I can do since I don’t know how much baking I will be able to get done.

I had leftover Valentines Day paper from Michael’s and some fun Club SEI embellishments, so I broke out my Silhouette and put it to work.

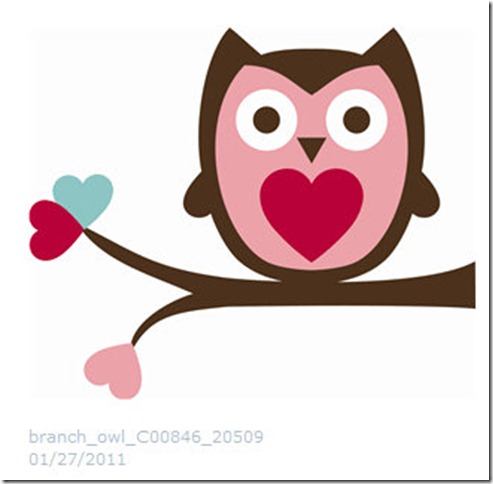
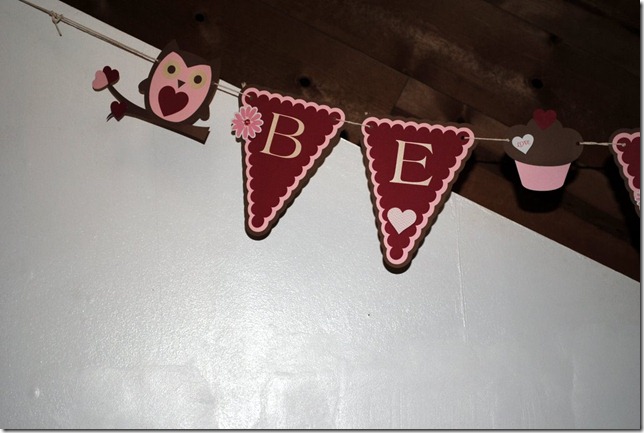
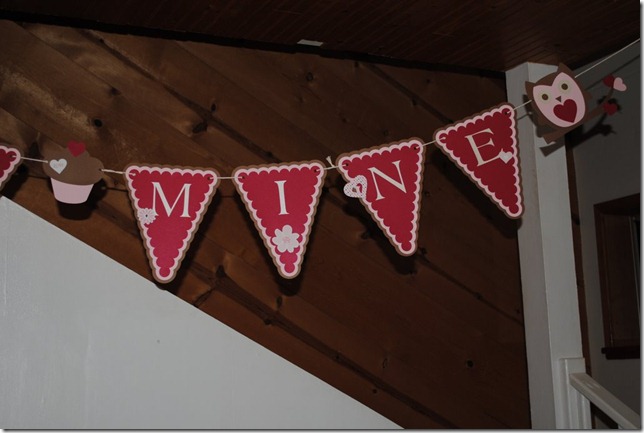
I am loving all the adorable owls that are out and about in the paper crafting world so I had to include a couple in my banner. This is the download from Silhouette America:

Fullscreen capture 1272011 92904 PM

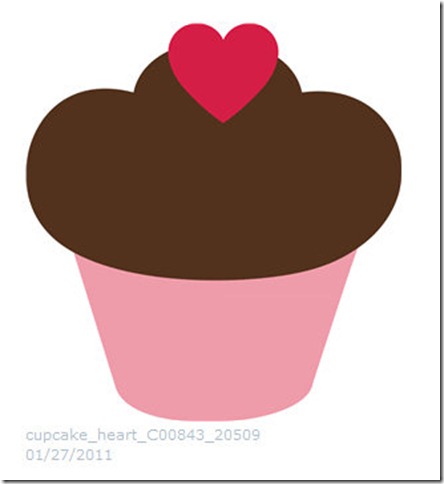
I also used this adorable cupcake to separate the “Be” and “Mine":

Fullscreen capture 272011 84346 PM

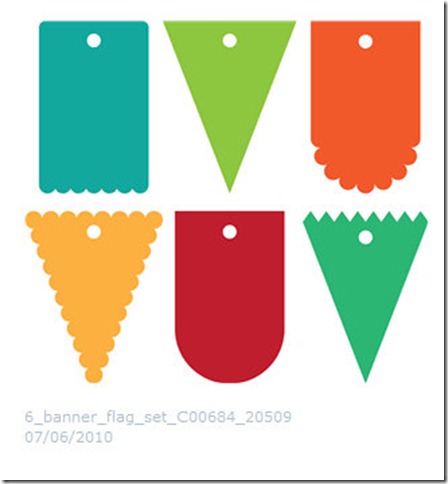
I love the look of layers on banners so I chose three colors to use for the pennants: Brown, Light Pink and Hot Pink. I used the following download from Silhouette for my pennants.

Fullscreen capture 272011 84814 PM

To get the three sizes to make the three layers, I used the “Offset” feature in the Silhouette Studio software. It makes it so easy!

After I assembled and embellished my owls, cupcake and pennants, I punched holes in the corners and strung them together with some twine.

DSC_0003

DSC_0006

DSC_0007

I can’t wait to send this off to Emily’s school along with her Valentine’s Treat Bags I made last week!